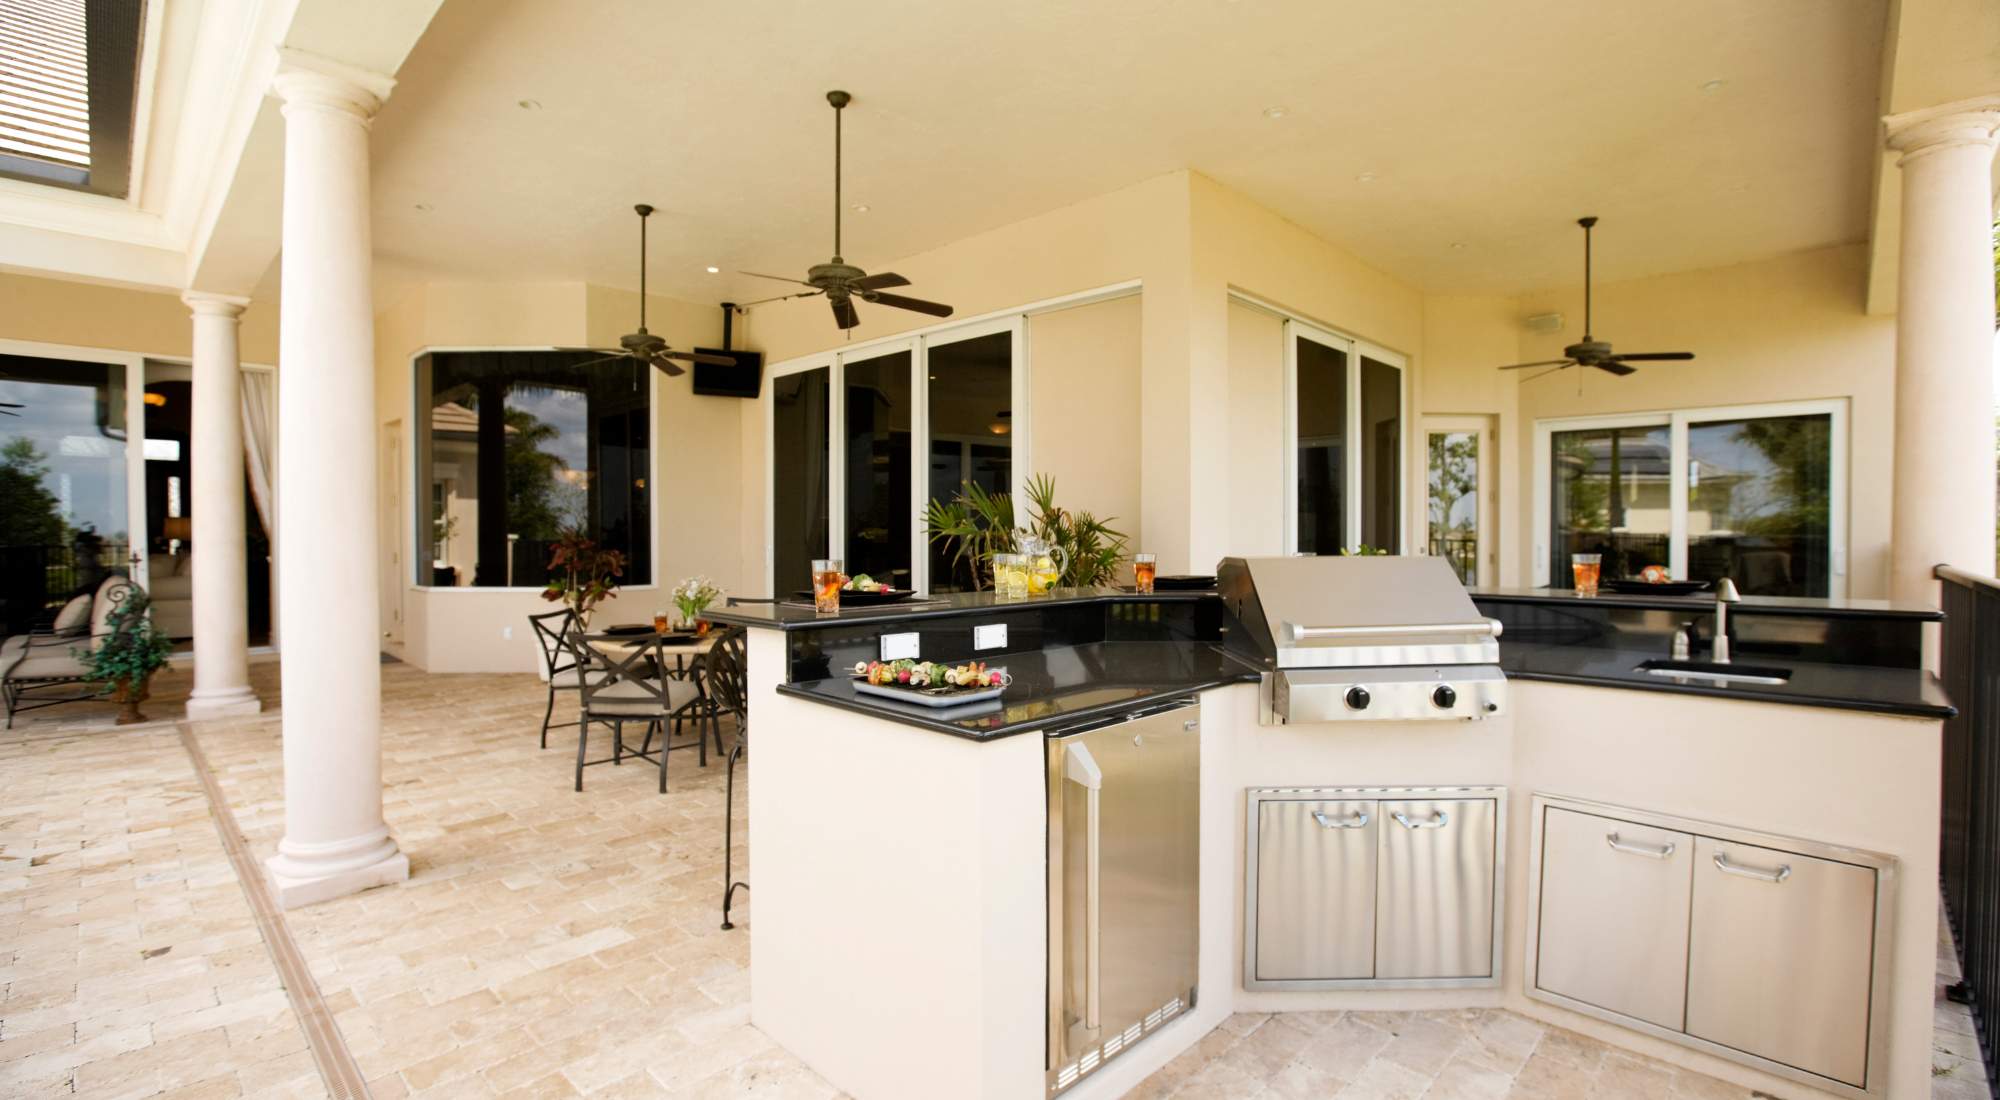
Winterizing Your Outdoor Kitchen: Why It’s Important and Steps To Protect Your Investment
October 25th, 2024 | by Jim Gates

The warm, lazy days and evenings of summer are slowly turning to the crisp and colorful days of autumn. For the next couple of months, the balmy nights of grilling, star-gazing, and enjoying the company of friends and family outdoors will need to move inside.
As you meander the patio, you consider if there are necessary tasks you should complete to winterize your outdoor space effectively.
Utilize the following suggestions to not only protect your beautiful outdoor investment during the harsh winter months but also to preserve the space for many years to come.

Table of Contents
- Do You Need To Winterize an Outdoor Kitchen?
- When To Winterize Your Outdoor Kitchen
- How To Winterize Your Outdoor Kitchen in 7 Steps
- Extend Your Outdoor Kitchen Season With These Tips
- We Build More Than Decks — Let Three Rivers Custom Decks Build the Outdoor Kitchen of Your Dreams
Do You Need To Winterize an Outdoor Kitchen?
When built and installed correctly, outdoor kitchens are designed to survive outdoor elements. However, annual preventive maintenance measures are important to preserve the optimal functioning and appearance of your space for years to come.
Properly winterizing your outdoor kitchen space will also make it easier to return to enjoying the space and entertaining as soon as spring rolls around next year.
When To Winterize Your Outdoor Kitchen
Now that some days are getting too cool for regular cookouts and outdoor entertaining, it’s time to winterize your outdoor kitchen to keep it in good shape for next year.
If you live in a more mild climate like Portland, you are fortunate to have extended time to spend outdoors.
That means you can utilize your outdoor kitchen space longer each year, but that also means more wear and tear — making preventive maintenance even more vital.
Outdoor kitchen spaces are personal and can add significant value to your home with proper maintenance. Three Rivers Custom Decks not only designs and builds your dream space, but can also help properly care for your investment.
How To Winterize Your Outdoor Kitchen in 7 Steps
Winterizing your outdoor kitchen is much more involved than just covering appliances and wiping down countertops.
This guide will provide practical tips and insights to keep your outdoor kitchen in excellent condition all year round.
Read on for suggestions to ensure your outdoor kitchen remains a cherished extension of your home.

Step 1: Turn Off the Water Supply
Possibly the most important step in winterizing your outdoor kitchen — at least in climates where temperatures plummet to freezing — is to turn off the water lines connected to the outdoor appliances and sinks.
The indoor shut-off valve is the best place to complete this step if possible.
Omitting the step of turning off the water can lead to the water freezing and expanding in the pipes, possibly leading to pipes and connections bursting.
Completely draining the residual water from the lines is also a good idea to prevent any possibility of pipe concerns. After draining the lines, leave the valves open.
If you live in a climate where freezing is not a concern, the water lines and pipes are not any different than in your home. Insulation on the pipes should be sufficient prevention against freezing.
Damage from freezing pipes can mean extensive and expensive repairs to not only the water lines and pipes but possibly appliances attached to the pipes.
Be sure to thoroughly check all appliances for freezing water concerns, such as the refrigerator, sinks, dishwasher, or ice maker.
Step 2: Winterize Your Outdoor Kitchen Sink
Outdoor sinks may be constructed from a variety of materials, but the maintenance and preventive care are general:
- Turn off the water lines.
- Open taps/faucets and keep them open.
- Pour RV antifreeze into the drain to keep the traps from freezing.
- Cover the sink to prevent debris from collecting in it.
- If applicable, open bleed valves at shut-off points.
Step 3: Clean, Maintain, and Cover the Grill
Most grills are manufactured from powder-coated metal or stainless steel and made to withstand the outdoors.
However, with any appliance, the better the preventive care, the longer it will last.
General maintenance and winterization suggestions for grills are as follows:
- For a gas grill, turn off the gas supply.
- Gas does not have to be disconnected unless the grill unit is moved indoors.
- Thoroughly scrub all food residue from surfaces.
- Coat the elements in cooking spray or oil to prevent rust and corrosion.
- Cover the grill.
Step 4: Clean and Prep the Range Hood
The range hood can easily be forgotten, but it’s one of the parts of the outdoor kitchen that gets the dirtiest.
Be sure to clean the range hood well to maintain proper ventilation and functioning. This may require products like a degreaser, rather than just soap and water to remove debris and build-up residue from cooking.
Step 5: Prep the Countertops for Winter
Outdoor kitchen countertops are one of the most visual pieces of your outdoor kitchen and entertainment area.
Whether crafted from durable stone or resilient wood, these surfaces deserve significant attention to maintain a good-as-new appearance.
Stainless steel countertops:
- Clean with mild soap and water.
- Apply a fresh layer of stainless steel polish.
Wooden countertops:
- Wipe with soap and water.
- Reseal and waterproof annually.
Stone or tile countertops:
- Clean regularly with soap and water.
- Porous stone or tile requires sealant to be applied to prevent stains or water damage.
After ensuring countertops are completely dry following use, most surfaces would benefit from being covered to protect against rain and harmful UV rays from the sun.
Step 6: Winterize the Outdoor Kitchen Appliances
While prepping for the colder months of the year, you’ll want to pay close attention to a major part of your outdoor kitchen investment — the appliances.
For all appliances, check the manufacturer’s directions for specifics on cleaning, maintenance, and storage instructions, and utilize the following guidelines for winterization suggestions.
Ovens or cooktops:
- Turn off the gas or power supply.
- Cover the unit.
Refrigerator, Ice maker, Dishwasher:
- Turn off the water lines and drain all water.
- Remove all food items and clean food residue from surfaces.
- Wash with mild soap and water.
- Turn off the power.
- Be sure the insides of the appliances are thoroughly dry, or store with access doors slightly ajar to prevent mold or mildew growth.
- If grills or toe plate covers are present, carefully remove and vacuum debris from underneath the appliance.
Covering surfaces and appliances is a great method to prevent general damage and exposure to weather. However, it is important to note that allowing moisture to get trapped underneath a cover can do just as much damage. If you are unsure about what to cover or leave uncovered, contact the manufacturer of your appliances for instructions on how best to protect them from the elements.
Step 7: Protect the Cabinets
Maintenance and weathering of the cabinets will depend on their material. Outdoor kitchens are made from durable materials such as stainless steel, powder-coated metal, or wood products — but extra care in the winterization process can help them stay functional and beautiful for years to come.
If you have stainless steel cabinets, coat them with a fresh layer of stainless steel polish.
Wood cabinets need to be oiled or sealed to protect them from winter’s harsh temperature and moisture swings.
Be sure to thoroughly clean, wipe down, and empty cabinets of any:
- Food and perishable items
- Old or expired items
- Liquids
Covering the cabinets is wise if you are able, utilizing a heavy but breathable material like a waterproof canvas.
Cabinets that are not covered may be prone to rust or corrosion from weather elements, mold, and mildew, or could become homes for opportunistic critters.
Extend Your Outdoor Kitchen Season With These Tips
Your outdoor kitchen does not have to be limited to use on warm summer days only. With a few modifications to the outdoor space, you can extend the time you spend outside each year.
- Add a roof or partial roof or other covering to the outdoor space.
- Utilize patio heaters, fire tables, or fire pits for additional warmth.
- Install an outdoor fireplace.
- Install functional and decorative lighting for shorter daylight hours.
- Provide comfortable seating.
- Consider installing a TV for game days.

We Build More Than Decks — Let Three Rivers Custom Decks Build the Outdoor Kitchen of Your Dreams
Three Rivers Custom Decks are specialists in making the most complicated deck and outdoor living projects look easy.
Whether you’re looking for a waterproof deck, a beautiful hardscape surface, a custom outdoor kitchen and living space, or your outdoor kitchen needs a facelift from a hard winter, our talented design team will assist you in bringing your dream to life.
Exceptional customer service is provided from the start through the finish of your project, and your custom designs are built using the highest quality materials.
While the colder weather may be pushing you inside, it’s the perfect time to discuss a project for the warmer months.
Contact Three Rivers Custom Decks and let us make your vision a reality!
