Deck Framing: Materials, Design, and Steps To Getting It Right
December 12th, 2023 | by Jim Gates
Even though it’s outside, your deck is an extension of your home. As such, you should be confident of its quality and safety. You want to be sure that the money you put into having it built will have been worthwhile.
You can gain assurance that your deck will last for years to come by letting us teach you about the best materials and building methods for deck construction. Read on, also, for information about how to build deck framing and how to tell when repairs or replacements are needed.
Table of Contents
- Why a Well-Built Frame Is the Most Important Part of Your Deck
- The Key Components of a Deck Frame
- The Best Deck Framing Materials
- You Should Consider What the Deck Will Support When Framing a Deck
- How To Build Deck Framing
- Inspecting Your Deck Frame To Recognize Signs That It Needs To Be Repaired or Replaced
- Three Rivers Custom Decks: Building Decks (and Deck Frames) That Are Stunning and Durable
Why a Well-Built Frame Is the Most Important Part of Your Deck
The frame of your deck is crucial because it is the substructure of your entire deck. Any flaws in the frame will affect the rest of the deck: the railings, the floorboards, etc. Thus the stability and strength of your frame determine the safety, longevity, and durability of your deck.
Opting for cheaper wood to save money or enlisting the services of the cheapest deck contractor is a risk that could cost you immensely in the future. You’ll want to hire a contractor with a good reputation for successful deck construction over the years, someone whose work is governed by a concern for the following characteristics of your deck:
- Longevity: Good quality wood and a contractor with professional expertise ensure a longer-lasting deck.
- Safety: Certain materials and building techniques may increase the likelihood of the wood rotting, warping, or otherwise weakening, putting all occupants at risk of accident and injury.
- Compliance with building codes: Your deck should be built in accordance with current code standards, or it could fail inspection.
- Cost-effectiveness: A deck built conscientiously to guarantee the above qualities will give high performance for years and help you avoid expensive repairs prematurely.
The professionals at Three Rivers Custom Decks can help ensure that you get the best materials and have your deck built properly so that it will last.
The Key Components of a Deck Frame
The four key components of a deck frame are:
- Footings: These form the deck’s foundation. Concrete is poured deep enough into the soil to extend past the frost line and provide reliable support for the whole deck.
- Posts: These are anchored into the footings at carefully spaced intervals to comply with codes and provide a sturdy structure to build on.
- Ledger boards: These are strong pieces of lumber that attach the deck to the frame of the house. This should be done with structural screws instead of nails. Ledger boards should not be connected to weaker areas of the house, such as:
- Bay windows
- Brick veneer
- Chimneys
- Overhangs
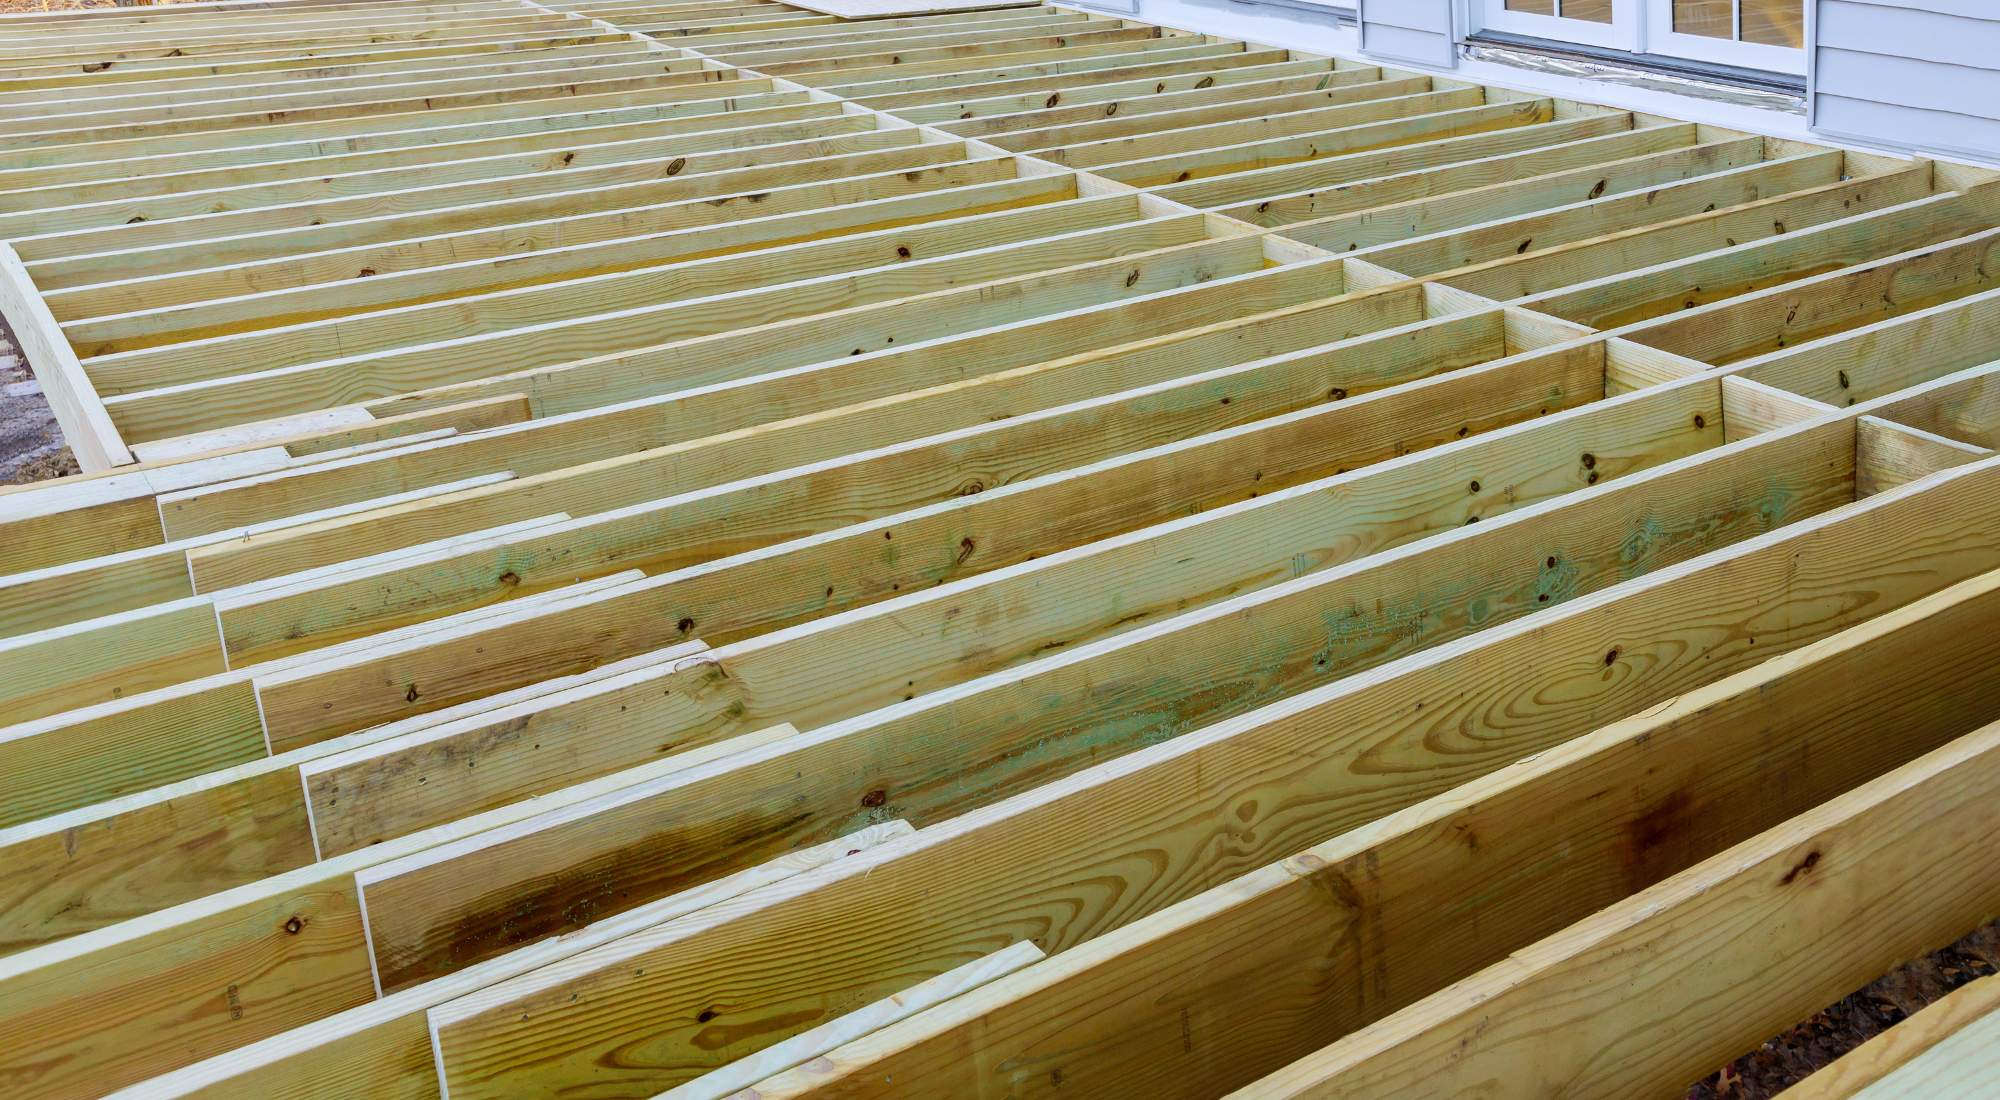
- Joists: These are supporting boards that run perpendicular to your house upon which the decking boards lie parallel to your house.
The Best Deck Framing Materials
You will need the following tools to frame a deck:
- Saw (a circular saw is best)
- Level
- Square
- Drill, with ⅜” chuck or larger, and bits
- Hammer drill with ⅝” concrete bit
- Nail gun
Besides these tools, your main material is the wood you choose to use. Pressure-treated wood rated for ground contact is essential for deck framing.
Douglas Fir
In the Pacific Northwest, the most common material used to frame decks is pressure-treated Douglas fir because of its strength and stability. Pressure treatment forces wood preservatives and fire retardants into the wood. These extend the life of the wood by repelling insects (such as termites) and moisture and thus fungal growth that can cause wood rot. Pressure treatment also protects the wood from damage by the elements in severe climates.
Hemlock
Pressure-treated hemlock is another wood commonly used in deck framing. It is popular for this purpose because it is easy to work with and accepts glue and paint well. It is a softwood, however, meaning it is softer, spongier, and more susceptible to moisture absorption than Douglas fir.
Steel
Steel is another option for deck framing material, but it is rather difficult to obtain. Some advantages of steel framing materials are:
- Lighter: Steel is a lighter, though not weaker, material.
- Neater look: Steel doesn’t have the imperfections that mar wood.
- Simpler installation: There is no need to crown the beams before installation because the steel joists are flat and will stay that way.
- Greater span capability: Steel can span more distance without needing added supports.
You Should Consider What the Deck Will Support When Framing a Deck
Although it doesn’t make a difference with respect to what material is used, what a deck will support should be considered when framing a deck. This is because you will need to include more supports if you expect the wood to bear greater weight.
Three Rivers Custom Decks builds strong decks that can hold a hot tub, for example, even without these extra supports. We do include them to put you and any inspectors at ease about the safety of the deck. Contact us for any questions about what you should consider in framing a deck.
How To Build Deck Framing
To build deck framing, the following procedure may be consulted:
- Install the ledger board: The ledger board is the deck floor rim board attached to the house. It transfers half the load of the deck, so getting it right is crucial. Precise measurement and using the right bolts and screws will ensure ledger boards are installed correctly. You also need to ascertain that the place you install the ledger board is not a brick or stone veneer, as these are not reliable anchor points. You may need professional assistance with removing any siding, masonry, or stucco material that is in the way to expose a reliable anchor point for the ledger board.
- Prepare the deck perimeter and inner joists: The deck perimeter is the outside of the deck frame. It’s made up of a double-beamed rim joist (in back) and two joists that form the outside edges. Then you’ll need joists parallel to these spaced at appropriate intervals based on the load capacity of the wood. They might not all be the same length, though that would be the case in theory. For example, if the ledger board bows out slightly in the middle, the joists meeting that section will need to be cut slightly shorter.
Putting up the joists can be tricky, since you’ll need a temporary prop for one end while you nail or screw the other end in place.
- Square the frame: After constructing the perimeter but before adding every joist, you’ll need to make sure the frame is square. This is done with precise measurements and calculations. Skipping or bungling this step could lead to an unworkable situation later on, so it is imperative to do this correctly.
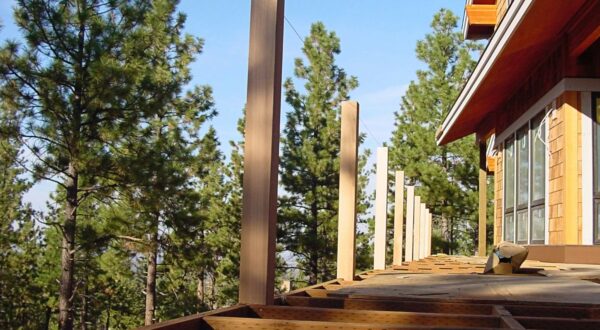
- Prepare footings and posts: The posts should be cut to the appropriate height, taking into account how much of them extends into the footing and how much will be above ground and actually contribute to the elevation of the deck. They also need to be notched properly so that they slide up into the deck framing and the frame can rest on the notches.
To create a sturdy foundation for your deck, footings need to be dug low enough into the earth to extend below the frost line. The outer posts sit in the footings. When they are set, it’s important to recheck that the frame is square and level. Then concrete is poured down into the footing around the posts, and it must cure for at least a day before proceeding.
- Install the deck floorboards: After the undergirding part of your deck is built – made up of the ledger board and rim joist (parallel to each other), the other joists perpendicular to these along the length of the deck, and the posts in each corner set firmly into concrete – you can install the floorboards.
The floorboards make up the most visible portion of the deck and the part that will be getting all the foot traffic. Everything up to this point must have been carried out precisely in order for the floorboards to span the joists evenly. Assuming this has been done, you can proceed with a reasonable expectation of success. Laying the floorboards parallel to the ledger board and rim joists, as well as to each other, is the next essential part of building your deck frame.
This completes the deck frame, but you will also probably need stairs, a stair railing, and railings along the perimeter of the deck.
Framing a deck yourself can be a daunting project. If it’s not done properly, the life and stability of the deck will not be as long as you hope. Even if you are accustomed to tackling DIY projects, this may be one you’d prefer to leave to a professional company, such as Three Rivers Custom Decks.
Inspect Your Deck Frame Regularly for Signs That It Needs To Be Repaired or Replaced
Be proactive by regularly inspecting your deck frame. Use a level to check the support posts. Anything that would cause it to not be level is a cause for concern. Sometimes this is readily visible, but a level will help you make sure.
In addition, examine the condition of the wood to be sure there are no rotted areas or evidence of twisting, turning, cracking, or other abnormalities. Some signs that indicate your deck frame needs to be replaced include:
- Mildew, rot, or decay
- Cracked joists
- Warped joists, often indicated by a sunken deck
- Damaged frames
- Shaking rails and deck boards
- Termite damage
At Three Rivers Custom Decks, we warranty the framework for the life of the deck, so you can expect assistance if you let us know when you detect any of the above signs.
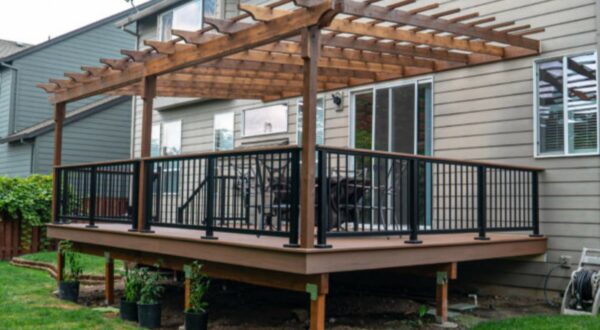
Three Rivers Custom Decks: Building Decks (and Deck Frames) That Are Stunning and Durable
If the complexity of deck framing seems overwhelming and you want to be sure that your future deck is of the best quality, reach out to Three Rivers Custom Decks. Our past customers can attest that the decks we build are strong, long-lasting, and aesthetically appealing.
Contact us today to discuss the creation of the ideal deck for your home.